Showing posts with label befor/after. Show all posts

April 20, 2012

Fix it Friday

  Photo Challenge Submission

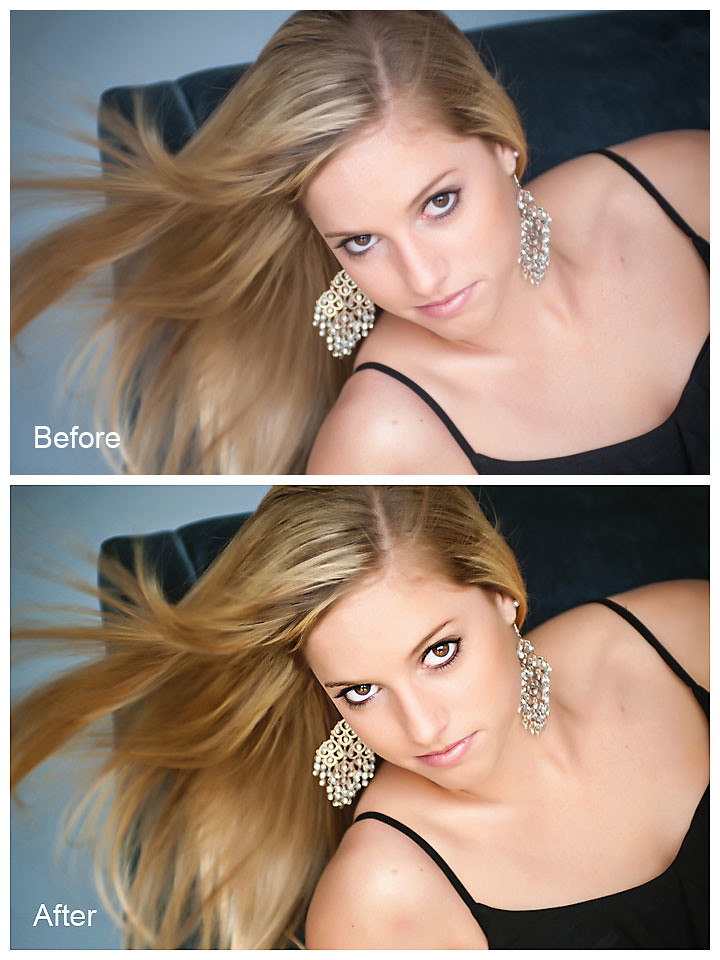
Its been ages since I have taken part in a fix it Friday. Actually I nearly take part each week, but I never save the photo, I just edit it then delete it. today I decided to save it and post it. What do you think? I wish I could get my photos looking like this SOOC, but I think I am a long way away from that. 


Here is my edit.

  • First I cropped the image (I know my sooc is cropped too)
  • ran the MPC mini fusion action
  • Increased the darken layer
  • Activated on cloud nine
  • Removed warm tint and hazy
  • Flatten
  • Ran coffee shop powder room 2
  • Adjusted the layers to my liking
  • saved for web

Fix it friday from I heart faces

To get this image head on over to Iheartfaces.com

February 10, 2011

From Good to WOW – Week 5 – Hearts

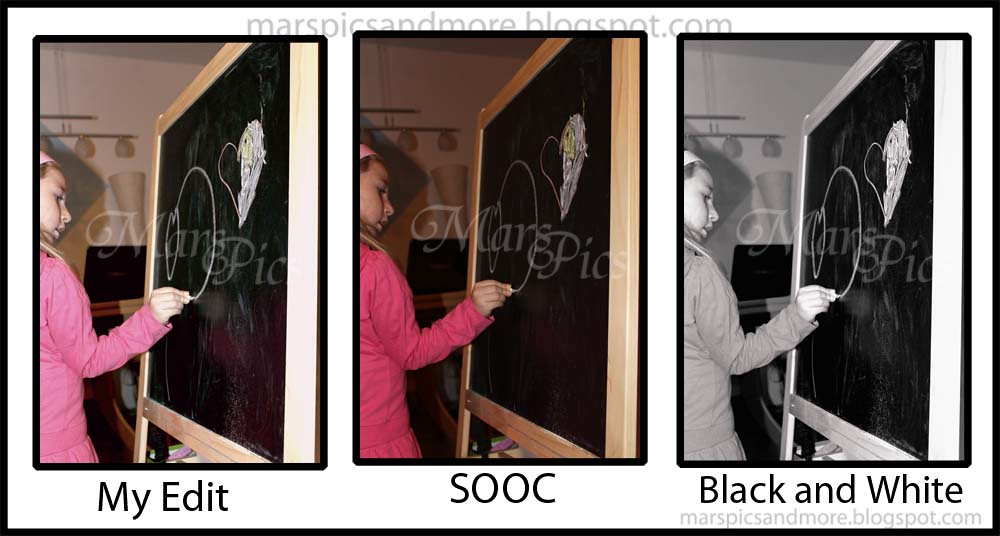
With 4 weeks to go till we move to NZ, I am finding my self less and less keeping up with my blog. But this week Ms Mar asked me to draw a photo onto her chalk board. She loves them but can’t draw them yet. Of course when drawing it I thought of this challenge. So while Mr Mar Jr took his nap I edit the photos. I didn’t even link up to the SOOC post. But I am getting this one down.
 
I also made a photo book for the kids grandfather from there grandmother for there wedding day in March. I had my job interview this week too.
 
I am still doing my project 365 BUT just haven’t looked through the photos I have taken. Yeh, I am getting behind with posting but am still taking photos. I had to remove ALOT of photos from my lap top. So far I have gotten to December 2006, still need to sort through all the rest till now. I only want to keep the ones I want to show of to people on my laptop, the rest are on the external hard drive and on CD/DVDs.
 
Well here is my photo for this week.
From good to WOW - week 5
  1. Do my basic Editing (see my pervious shoot and edit shots for what that is)
  2. Add a Dark red layer and turn down to 9%
  3. Add a Custom black and white layer, This time I put in 4 points, Black, dark grey, light grey, and white. Turned that down to 20%
  1. Just followed all the steeps from the first edit.
  2. Left the custom black and white at 100%

To see the edits head on over to Ashley Sisk’s blog Ramblings and Photos.

February 4, 2011

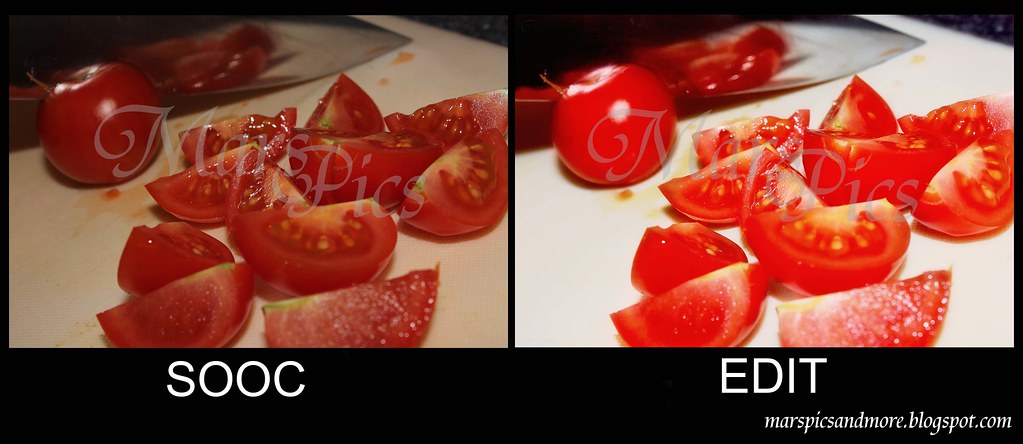
From good to WOW – Red

So here is my edit for this week. I was so organized last week with my post this week. Well I have gotten behind. Guess Allot has to do with me not putting my “new” photos onto the laptop cos there is nor room, deleting photos is so much harder then I thought even if I have it all burnt on DVDs and on my external hard drive, I am still scared of loosing them.
 
I didn’t write down my editing steeps this week so I did what I could remember.

SOOC AFTER

From good to WOW - Red

My SOOC, Sheared on my last post
  1. Adjust all my normal things (colour balance, white balance, ECT)
  2. New layer black and white gradient set to 12%
  3. New Layer filled with red and removed from everything but tomatoes set to 9%
  4. Copy picture add grasson blur and remove from tomatoes and knife edge (to get rid of a bit of noise)
  5. and since I didn’t write it down I can’t remember what els I did

To see the edits head on over to Ashley Sisk’s blog Ramblings and Photos.

January 27, 2011

From Good To WOW – Week 3 - What says “Good Night” to you?

So with the sleeping pic of Mr Mar Jr did my normal edit using the few tips from the last weeks. Ashley and Jill both suggested I try for a dreamy look. That was hard, I actually like my “dreamy” edit better but I don’t know how dreamy it really is. What one do you like better?

January 25, 2011

Touch Up Tuesday & Shutter Love Tuesday – Overlays

Touch Up Tuesday's at the Paper Mama
ShutterLoveTuesdaysI took this photo this week and just love the edit I did on it. I usually never use textures, but with this one, it fitted. Basically I only like textures on pictures with a plain background, it just  makes the background a bit easer. This week we got new living room cupboard, from Ikea where els. But before we got them we took ALL the other cupboards out, and Mr Mar Jr loved that extra space, So this is when I took this photo, him in joying standing in the seemingly bigger living room.


December 14, 2010

Touch Up Tuesday – My kiddies

Touch Up Tuesday's at the Paper Mama So I desided to add this add this photo to the Paper HeartCamara touch up Tuesday. I am adding 3 edits, the color, b&w and sepia. I think I like The Sepia best. 

First I opened the photo in Photoshop  and cropped the photo. Afterwards I opened my second picture to to change the eyes, since Ms Mar is looking down and I couldn’t get a photo of both kids looking into the camera. I cut out the eyes, copied them into the Main photo, and adjusted the size and angle to get it to fit onto the main photo. Then I flattened it.

After that I adjusted the Levels, curves, Color Balance, Brightness/Contrast, duplicated the layer and added a soft light layer. I also ran the Coffee Shop Baby Powder Room action then put them all into a set and lowered the occupancy on the whole set.  What I was happy with the way it looked I flattened it.

After that I added a b&w gradient map, changed the curves to adjust the b&w how I liked it. Then to get the Sepia tone I played around with the color balance over the b&w.

December 2, 2010

Pixel Perfect - befor and after

So this is the first time I am taking part in pixel Perfect. I have been playing around quite a bit in photoshop 7 and trying new things, I have only just started with actions, not only with the things to make it faster. EG rezings my photos, or adding my water mark. But also been trying some out from other people. Its been fun.

So this is a photo I took of Mr Mar Jr yesterday after we came back in from playing in the snow, it was taken with a Canon 60D


March 26, 2010

I ♥ Faces - Fix It Fridays #48

Fridays is fix it day over at I ♥ Faces. How it works, they give you a photo this week caming from Natalie P, you then take the Original Photo and eidit it the way you like it. Now I am new to eiditing and am using photoshop 6 and also a free easy eidting program called Shutterfly studio.  Since I am still playing around and getting to know the photoshop I don't realy remember what I do to get to the end. I think i shoudl start writing down steep by steep what I do so some nice people can tell me how to get there easer or faster.


Here is her oranonal photo of her littel girl.


My Eidet #1


My Eidet #2


Not that they look too deffernt, but there are a few littel things. I tryed to get more borwn out of her eyes on the second one. All in all I don't think they are too bad. Thanks to all the other people over at I ♥ Faces, for giving me ideas and making it easer for me to eidet my photos. I am realy injoying this sight and hoping to lurn alot more. Go to www.iheartfaces.com to cheek out all the entries.