February 26, 2011

Week 11 of Project 365

I really haven’t stoped this project, I have just been caught up doing other stuff then editing and posting my photos, but tonight, I left the TV off and am playing catch up. Also catching up on backing up the rest of my photos to DVDs.
 
DAY 71
This is what our floor looks like, even if the kids aren't drawing, FUN FUN FUN.
Day 71

DAY 72
I wanted to eat roasted Marshmallows, well this was my way to get to them.
Day 72

DAY 73
Just anther picture of Mr Mar Jr.
Day 73

DAY 74
Kids having fun on the playground, I love it when they play like this together..
Day 74

DAY 75
Birds flying away from the water.
Day 75

DAY 76
So this is lets call her my steep niece Lena.
Day 76

DAY 77
So here I TRYED doing a HDR photo.
Day 77

February 25, 2011

Week 10 of Project 365

I can’t really remember what exactly we did this week. I did get my wisdom teeth out on my left side OUCH now a month later I have already gotten the second side done and I can finally eat properly again and I shouldn’t have anymore sore gums.
DAY 64
Mr Mar playing with his train set.
Day 64

DAY 65
We went to the play ground, the sun was shining and it was lovely weather, if you forget that it was -7°C outside. But the sunshine made it all better. The light was just perfect to take photos in for the first bit when we were there.
Day 65

DAY 66
The kids play fighting with there granddad.
Day 66

DAY 67
I had gotten some new Patchwork Cutters, and just had to use them. So A teddy bears picnic on a Caramel and Chocolate tart. I have to say, having little kids and taking photos isn’t always the best.
Day 67

DAY 68
This was dinner the day I got my teeth out, yes COLD food, It did good.
Day 68

DAY 69
MISSED THIS DAY.


DAY 70
MISSED THIS DAY.

WATER WATER WATER

So once again I wanted to take some time to take photos, I have been loving the few times I have taken photos of water, from my first time where I took nearly 450 photos and only had a few that worked. My main problem there was that I didn’t have a tripod. I only got a hand full of photos from that day, where this one was the best.

My second try I had a tripod and I used the flash defiantly resulting in better photos, not so grainy and just allot more fun. I took about 120 photos, where I had a defiant better result then the first time.  But I still had the ISO too high, Also this time I used a Drinking straw to drop the water into the glass and not a plastic bag hanging over the table.

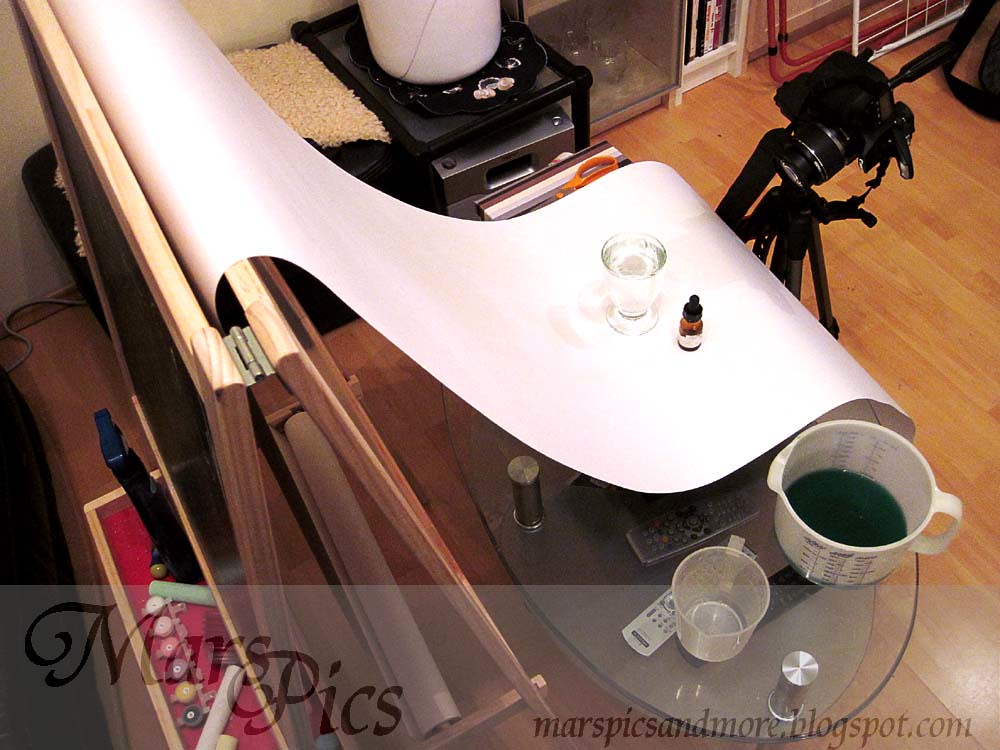
Then last night I had other go at it, With this set up. Camera On a tripod, The kids painting isle as a backdrop, Water in a glass,  green water for fun effects, eye dropper to drop in water. I had a few boxes under the paper to get the glass a bit higher as my tripod even on the lowest setting was still too high.

Water Drop Set Up

My camera settings were.

  • Exposure – 1/125
  • ISO – 250
  • F-Stop – f/14
  • Flash was on and set to 0

The lens I used was the Kit lens 18-55mm 3.5-5.6 IS

Next time I will do a custom white balance, on the background, It would of saved allot of time when editing.

Here are some Photos that I took

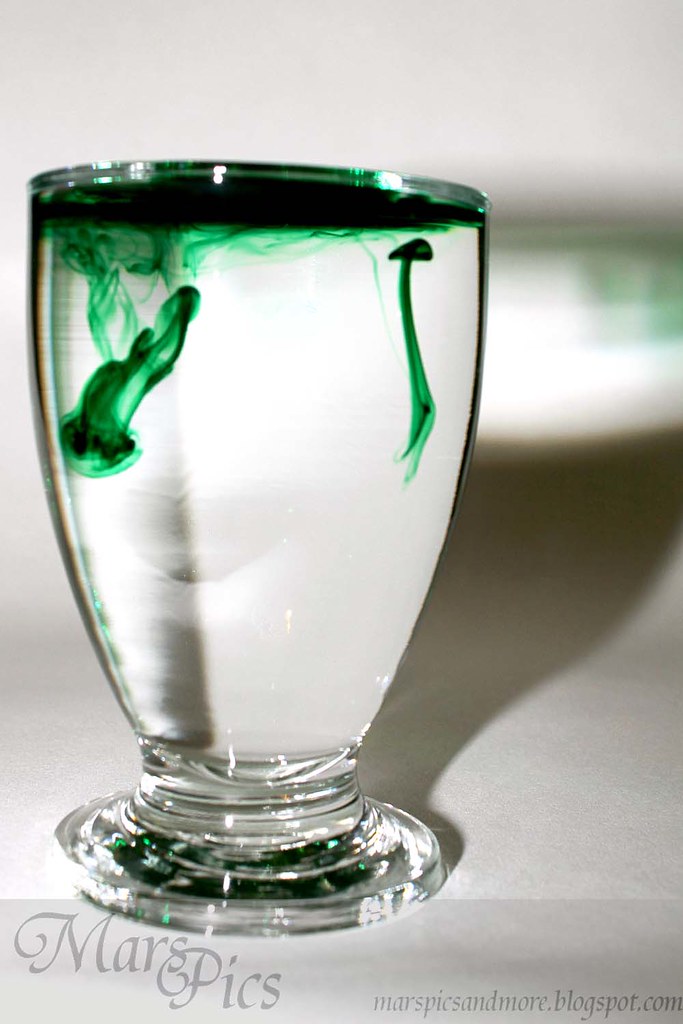
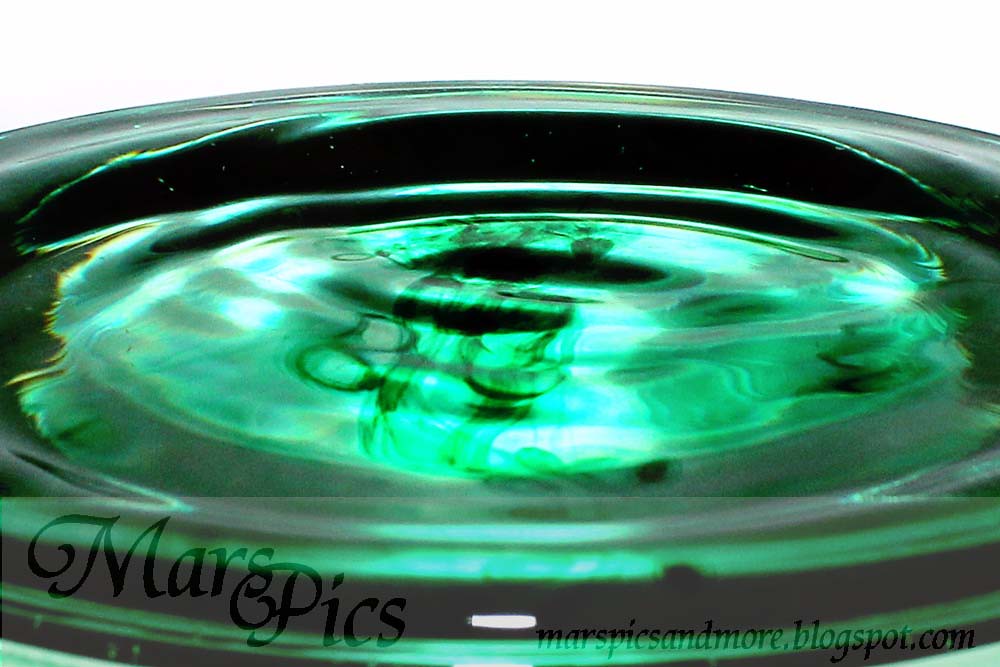
The glass I was using after a few drops of food colouring

Water drop hitting the water

Day 91

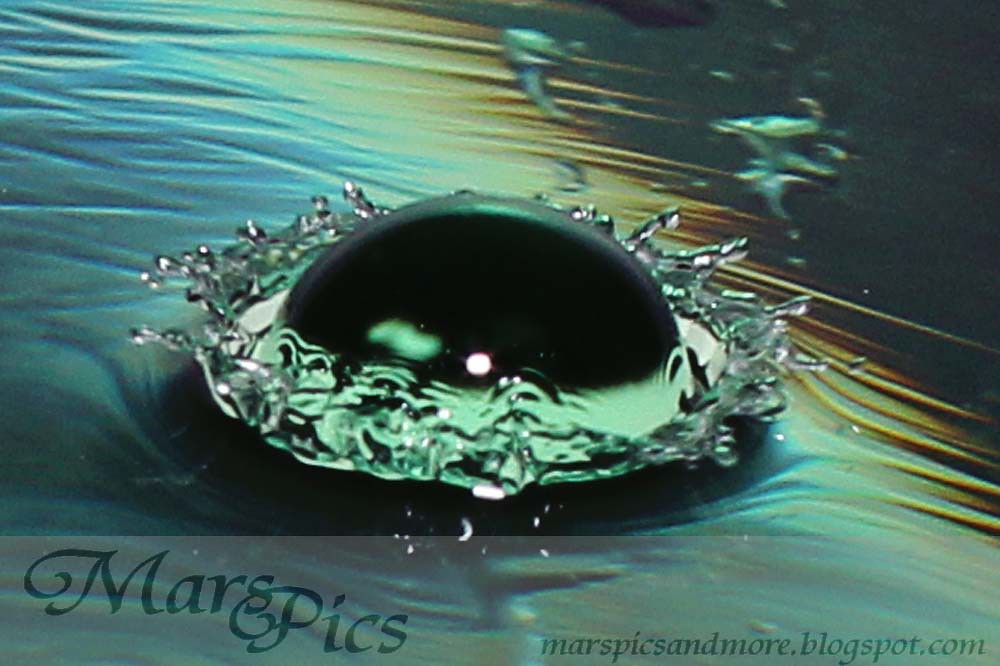
Crowning, where the water drop is in the water                       

(I am entering this photo below to Marco Friday)                           


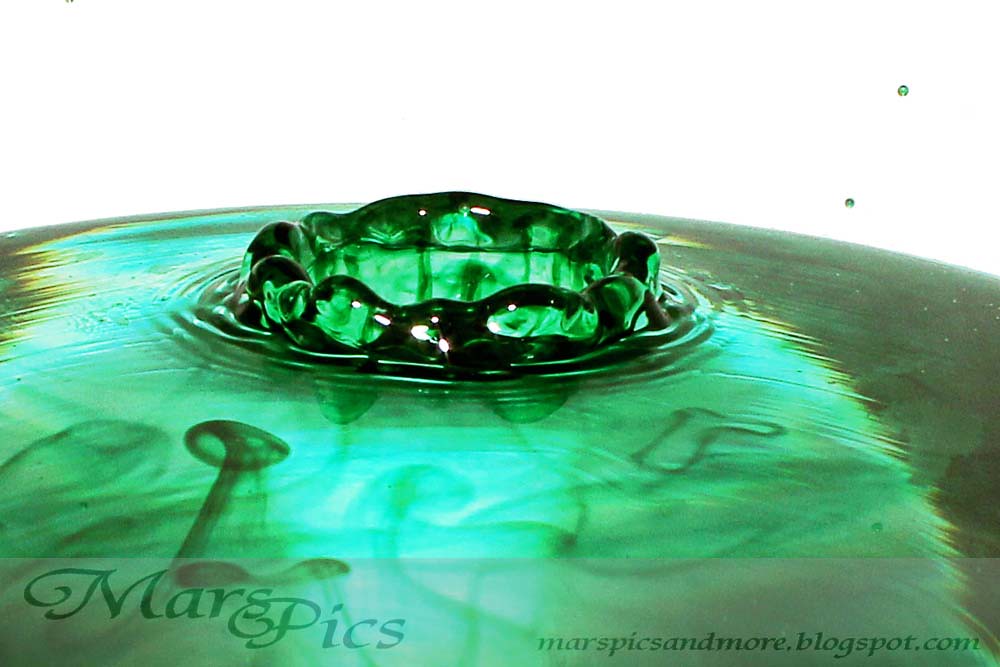
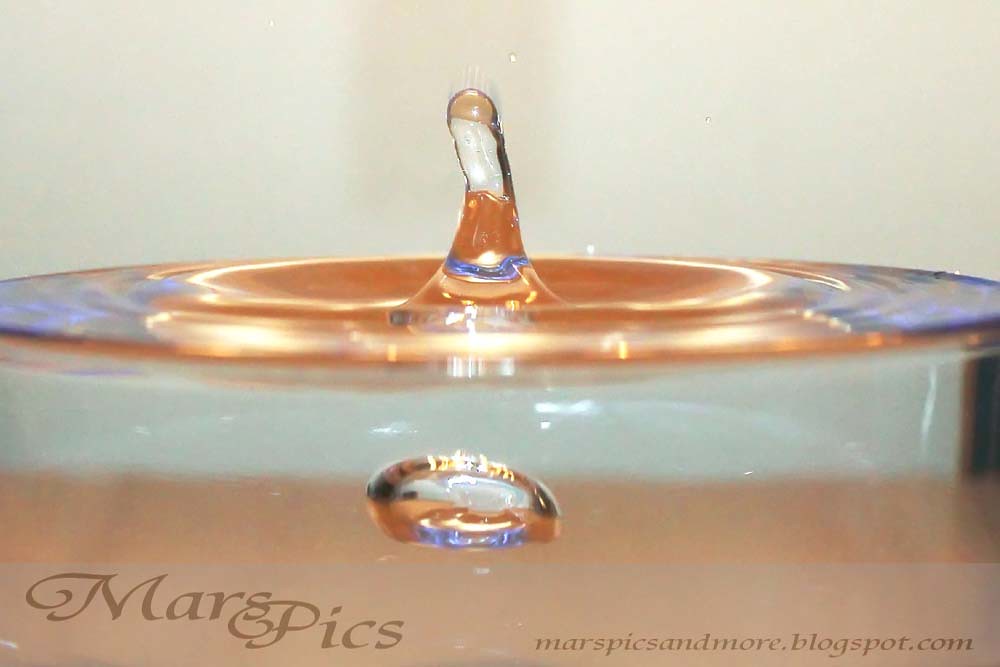
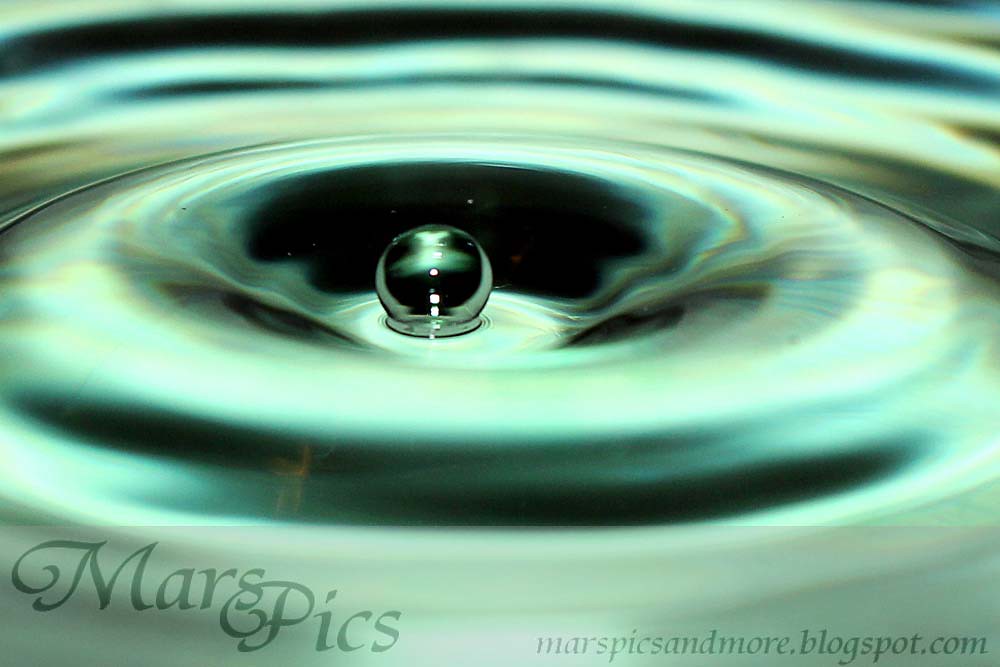
Tower, the water getting pushed up when the crown closes again with the top drop detaching.

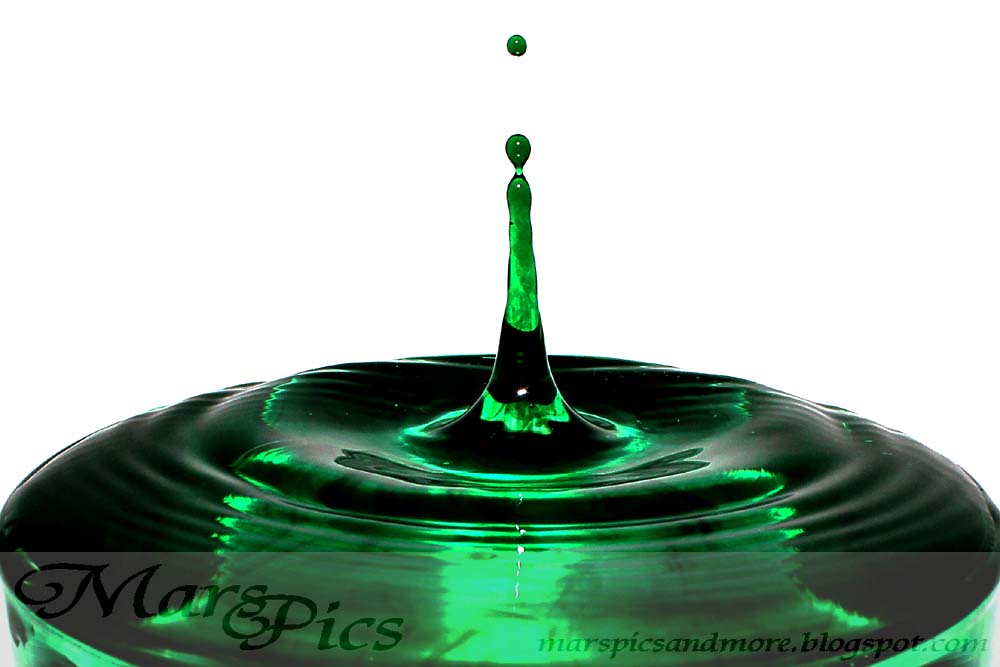
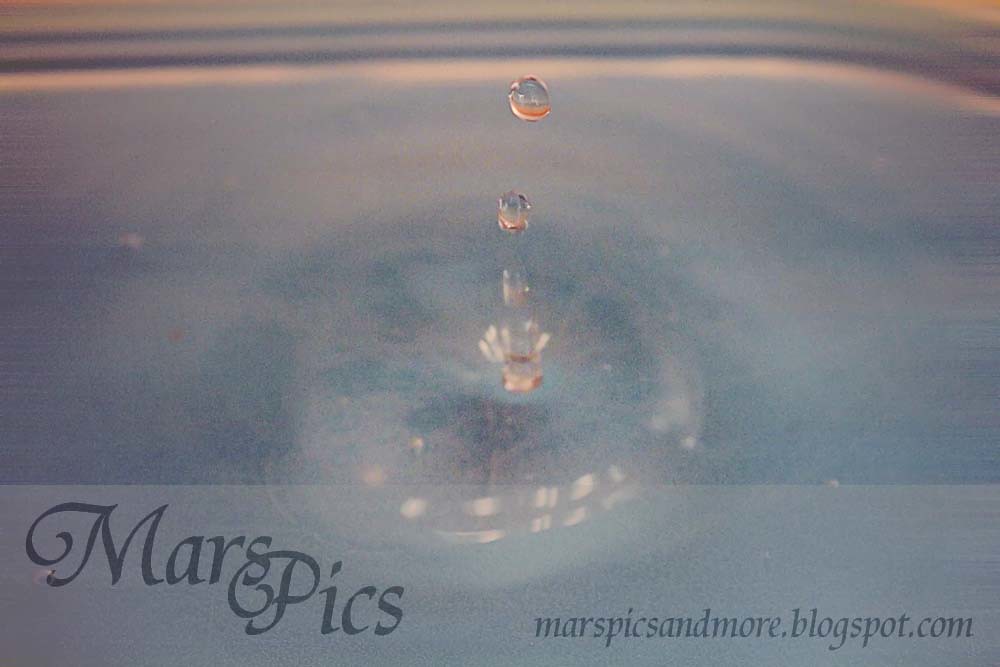
Top drop falling down.

Top drop about to hit the water, look at the ripples it is making before it hits the water

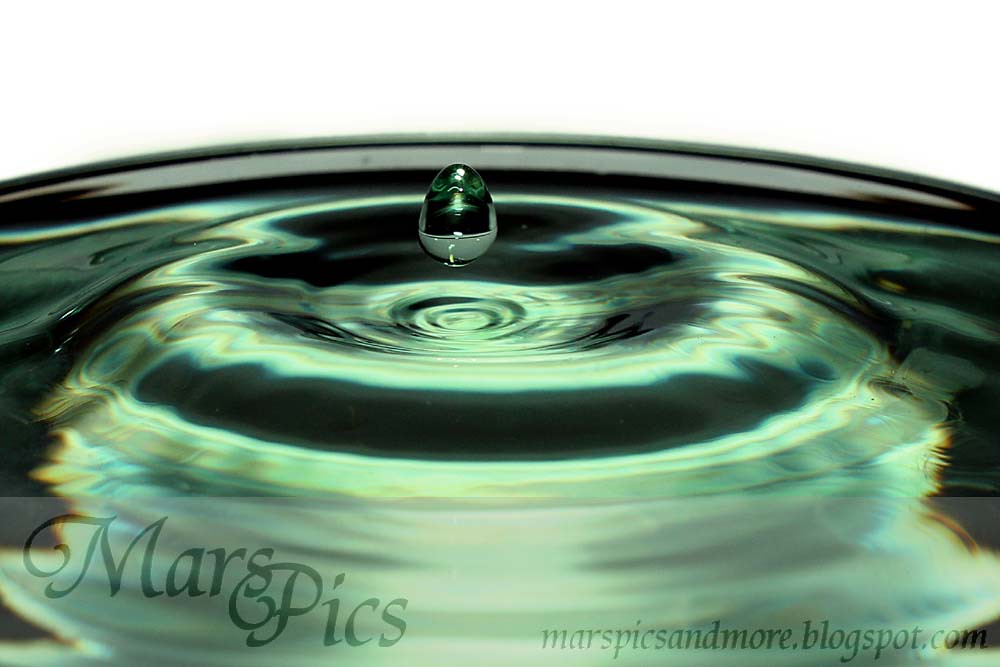
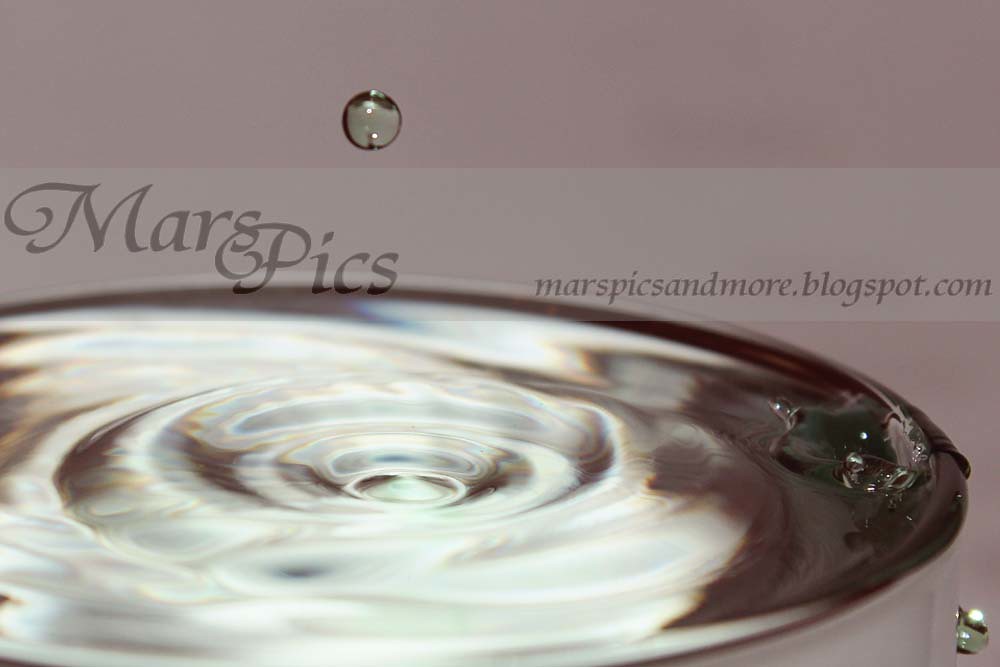
Top drop just before it sinks into the water again. Love how it looks like it is just sitting there.

Last ripples before the water sets again for the next hit.

For more Water drop shots click here.

February 20, 2011

Colour Splash Sunday – AGES

I KNOW I KNOW. It has been AGES since I have blogged. Just so much going on & Age of impairs has found its way into my hands again. Currently we are helping my grandmother redo her bathroom. Or better said Mr Mars Farther is, I am there more for morel support for her. I have been getting a going away party ready or at least trying to play it before we move. Tieing up loose ends, and it is only 2.5 more weeks till we go.

I am still doing my project 365, I think I’ll have to do one MASSIVE post from the last day I have uploaded pics, Just need to edit them. I have also been backing up all my photos, This can take for ages, LOL, I should do it more often. I back them up to DVDs and to an external hard drive.

So to colour splash Sunday, I took this photo on the 14th, valentines day, a local mall was handing out roses to the ladies going there they also do this at mothers day. When I got home I took some photos of it.

IMG_6818

So finally linking up this weekend again, Also it is grate to see how many are joining in now, LOL, I start to drift of with my linking up and it starts to get busy.

February 10, 2011

From Good to WOW – Week 5 – Hearts

With 4 weeks to go till we move to NZ, I am finding my self less and less keeping up with my blog. But this week Ms Mar asked me to draw a photo onto her chalk board. She loves them but can’t draw them yet. Of course when drawing it I thought of this challenge. So while Mr Mar Jr took his nap I edit the photos. I didn’t even link up to the SOOC post. But I am getting this one down.
 
I also made a photo book for the kids grandfather from there grandmother for there wedding day in March. I had my job interview this week too.
 
I am still doing my project 365 BUT just haven’t looked through the photos I have taken. Yeh, I am getting behind with posting but am still taking photos. I had to remove ALOT of photos from my lap top. So far I have gotten to December 2006, still need to sort through all the rest till now. I only want to keep the ones I want to show of to people on my laptop, the rest are on the external hard drive and on CD/DVDs.
 
Well here is my photo for this week.
From good to WOW - week 5
  1. Do my basic Editing (see my pervious shoot and edit shots for what that is)
  2. Add a Dark red layer and turn down to 9%
  3. Add a Custom black and white layer, This time I put in 4 points, Black, dark grey, light grey, and white. Turned that down to 20%
  1. Just followed all the steeps from the first edit.
  2. Left the custom black and white at 100%

To see the edits head on over to Ashley Sisk’s blog Ramblings and Photos.

February 4, 2011

From good to WOW – Red

So here is my edit for this week. I was so organized last week with my post this week. Well I have gotten behind. Guess Allot has to do with me not putting my “new” photos onto the laptop cos there is nor room, deleting photos is so much harder then I thought even if I have it all burnt on DVDs and on my external hard drive, I am still scared of loosing them.
 
I didn’t write down my editing steeps this week so I did what I could remember.

SOOC AFTER

From good to WOW - Red

My SOOC, Sheared on my last post
  1. Adjust all my normal things (colour balance, white balance, ECT)
  2. New layer black and white gradient set to 12%
  3. New Layer filled with red and removed from everything but tomatoes set to 9%
  4. Copy picture add grasson blur and remove from tomatoes and knife edge (to get rid of a bit of noise)
  5. and since I didn’t write it down I can’t remember what els I did

To see the edits head on over to Ashley Sisk’s blog Ramblings and Photos.

February 2, 2011

From good to WOW – Red

I am so late with posting this though I took this photo mid last week, I have had a busy week this week. Involving getting 2 of my wisdom teeth out OUCH, now I have a huge mouth. Writing my CV and getting a job interview, this will happen over Skype, how scary and cool. As we are planning to move to NZ in 6 weeks. Time is flying, I am hoping to get all the rest organized, My mind is so boggled with what I still have to do, but then I berley know where to start and what still needs to be done and what hasn’t been done yet.
 
My SOOC this week is of me cutting cherry tomatoes for a tomatoes salad, one thing both my kids totally LOVE to eat.

SOOC RED

To see other SOOC pictures head on over to Forever n Ever n Always Photography